

Quick and Easy Roasted Seasoned Chickpeas
Chickpeas are a staple in our house. Like, we have cans and cans of them.
They’re essential to making fresh hummus, delicious as a protein on a salad and my youngest daughter’s favorite way… as a crunchy snack. When they’re seasoned and baked crunchy like this, they can also be used as croutons on top of your salad. Our favorite at home is on top of our plant-based “chicken” Ceasar salad.
This quick and easy roasted seasoned chickpeas recipe takes almost no effort and will have minimal clean up.
I promise you, they own’t last long!
Helpful notes when making roasted seasoned chickpeas
There’s no need to rinse the chickpeas
The aquafaba (the liquid in the can) will help to keep the seasoning on. However, if you want to cut down on the sodium a bit, you can rinse the chickpeas.
Consider saving the aquafaba to sub in as eggs for another recipe
When draining the chickpeas, hold the sieve over a bowl or small pitcher to catch the aquafaba. The aquafaba has viscous properties that make it a great substitute for egg whites when combined with cream of tartar in plant-based recipes. America’s Test Kitchen explains how to whip it up in your own kitchen.
Measure the seasoning with your heart
I didn’t add specific measurements for the spices, seasonings or herbs in this recipe. You can’t ruin the roasted chickpea snack when you add the seasonings the way you like so if one pinch of sea salt isn’t enough, add a little more! Eating an unroasted chickpea that’s been seasoned is perfectly fine to decide whether you should add more flavor or not.
Be sure to stir the beans a couple of times and wait for the pop!
Stirring the chickpeas will ensure they are roasting evenly. When they get to the point of being done, you’ll see some of the chickpeas will pop open. This is a good indicator that they’re ready to come out of the oven. See the pictures below for examples.

Here, the chickpeas are about halfway through roasting.

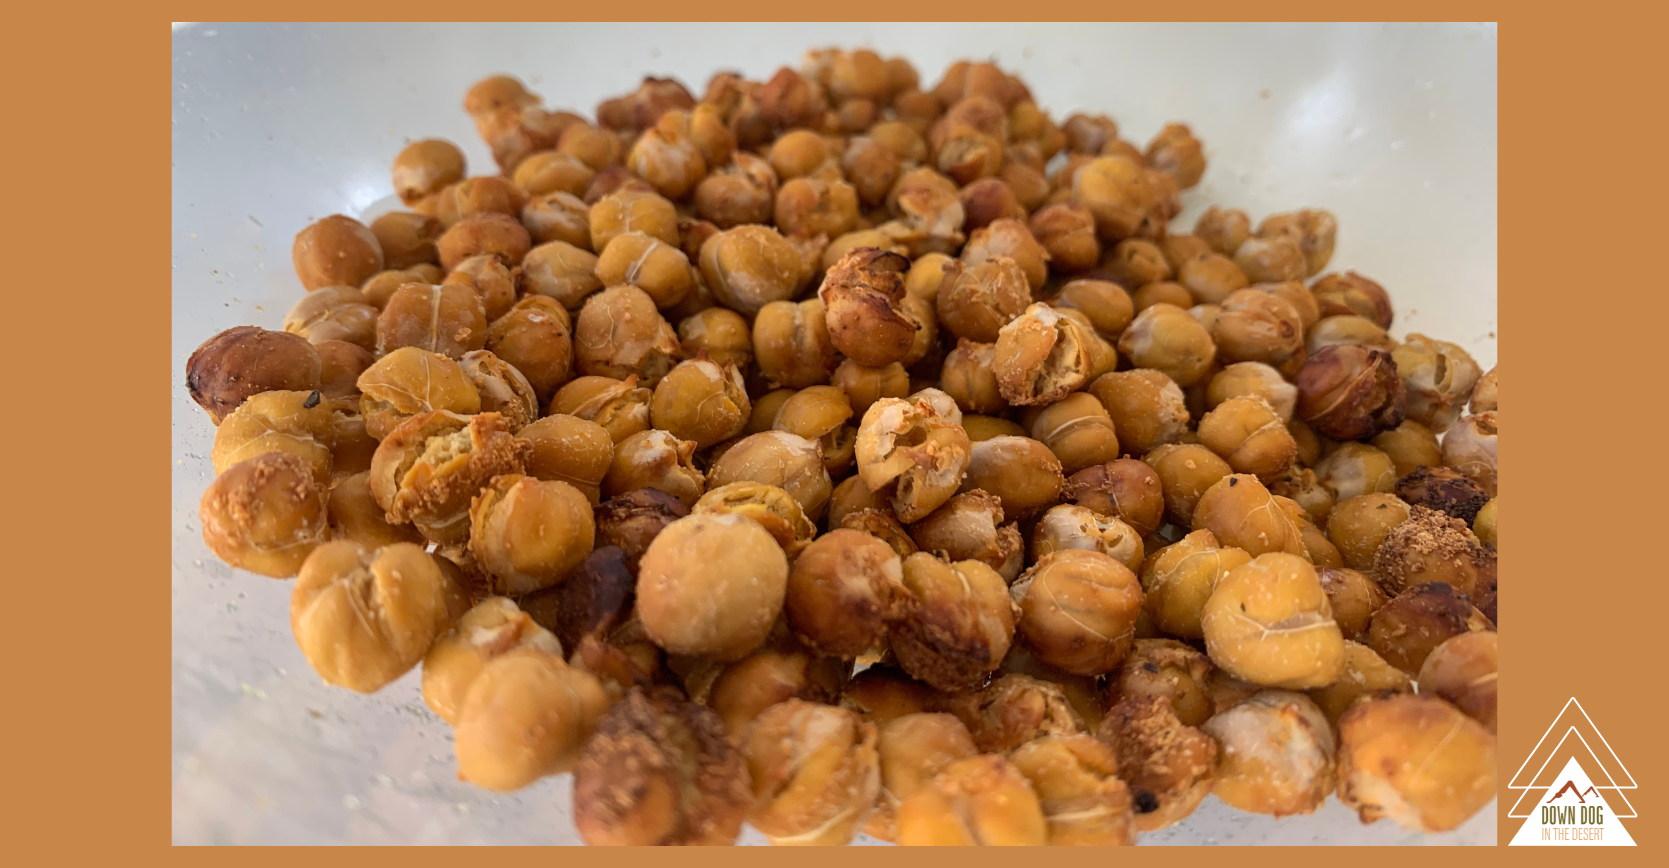
Nicely browned and popped open, these chickpeas are ready to take out of the oven!
How to Store the Leftover Chickpeas
In our house, roasted and seasoned chickpeas don’t last long once they come out of the oven. But, if there are leftovers, I store them in a glass Ball jar. They’ll keep this way for about 4-5 days but they likely won’t last that long!
You can use any glass container with a lid. If you’re looking for lids that fit either wide mouth or regular mouth ball jars, you can find the ones I use here.
Enjoy!

How to Make Quick and Easy Roasted Seasoned Chickpeas

Quick and Easy Roasted Seasoned Chickpeas
Ingredients
- 1 15.5 ounce can of chickpeas / garbanzo beans
- 1 tablespoon of avocado oil or olive oil (optional)
- Your choice of seasoning
Instructions
- Choose your roasting method. Pre-heat your oven or set your air fryer to 400*. Either baking method works fine.
- Drain the chickpeas— don’t rinse. You can do the totally lazy method of draining just using the can lid to keep them from falling out while draining or dump the can into a mesh strainer. But, don’t rinse. The aquafaba (chickpea liquid) helps to keep the seasoning on the chickpeas, especially if you aren’t using oil in your recipe.
- Dump the chickpeas into a bowl.
- (OPTIONAL) Measure out your oil. You could opt to skip the oil. Since the chickpeas are wet after being drained from the can, the seasoning would stick just fine but oil might give more of a crisp to the outsides of the beans. If using oil, add about a tablespoon of avocado oil (preferred) or olive oil per each can of chickpeas you’re going to bake. Add it to the bowl of chickpeas and stir.
- Add seasoning. When it comes to seasoning, you can experiment with whatever spices and herbs you’re into. I like savory so I use garlic powder, onion powder, sea salt and a sprinkle of avocado oil. I typically measure with my heart so I don’t have exact measurements— and that’s ok! Find what works best for you.
- Combine the chickpeas, seasoning and optional oil. Stir until the chickpeas are coated.
- Pop the chickpeas into the oven. If you’re using your air fryer, the chickpeas can go directly on the trays. Some seasoning might fall through so you may want to do this over the counter. If you’re using the oven to bake your chickpeas, pour them onto a cookie sheet. If you opted for no oil, you may want to add a touch of cooking spray to the cookie sheet. I did try parchment paper once but the chickpeas didn’t crisp up as much as they could have. Bake for about 15-20 minutes, stirring occasionally. You’ll notice that the chickpeas will be very brown and toasty and begin to pop open when they are ready to take out.
- Pop the chickpeas into your mouth! Be careful-- they just came out of a 400* oven! But, they don't take long to cool. You can eat the chickpeas almost right away. They are sooo good! (Think “hot popcorn” temp)
- Allow to cool before storing. If you are going to store them, allow them to cool completely before you put them in a container. Make sure to use one with a lid. I have found they stay freshest in glass containers. I use an old, clean Ball jar with a reusable lid. I've linked my favorite lids, below.
Notes
Get creative and test out new flavors!
Here are some seasoning combos you may want to try:
- Sweet: Brown sugar and cinnamon
- Spicy: Cumin, smoked paprika, chili powder, garlic powder, salt, pepper, red pepper flakes
- Savory (My favorite!): Sea salt, onion powder, garlic powder
Other spices or flavors to try:
- Trader Joe’s garlic salt grinder
- Parmesan cheese
- Trader Joe’s “Everything But the Bagel” seasoning

Nutrition Facts
Calories
467Fat
7.4Sat. Fat
0.8Carbs
78Fiber
22Sugar
14Protein
25Sodium
1204Cholesterol
0Adding certain seasonings may change the nutritional information.